How to use Skybox in Unreal Engine?
Using a sky box over the default Unreal sky has many advantages. In many cases, it leads to better game performance and a more original game look. If you want more FPS and fewer player complaints about "looking like every other Unreal game", Skybox might be a good solution for you.
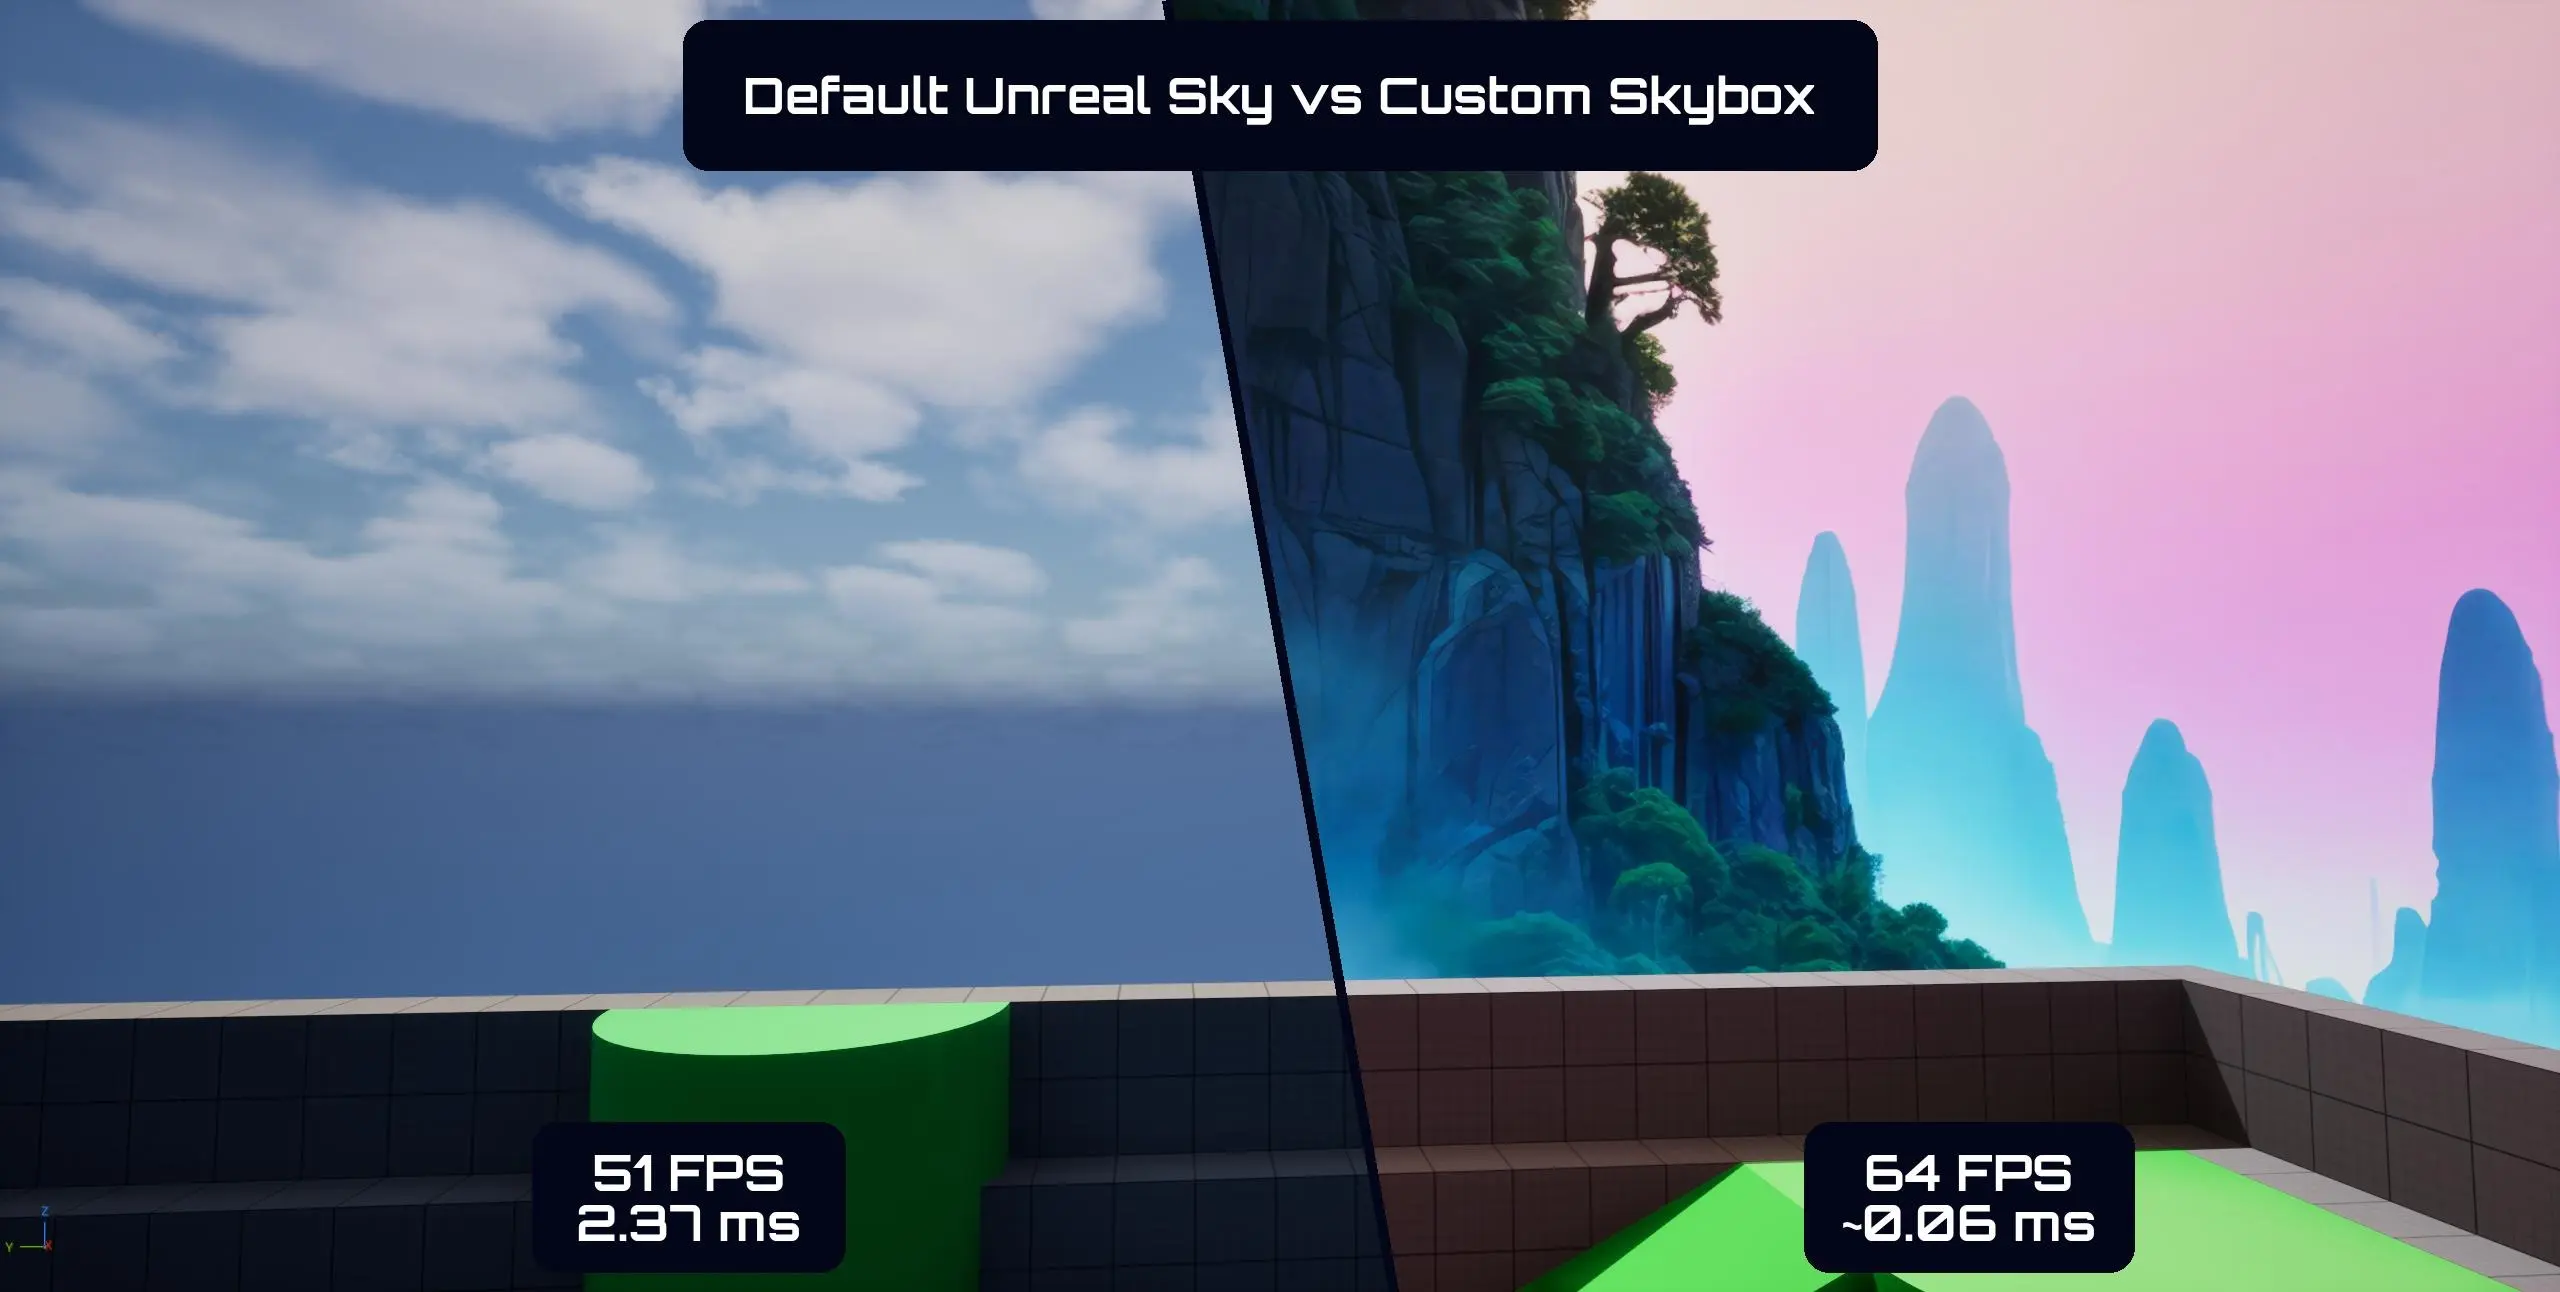 In the image above, you can see that using a skybox not only resulted in a more original scene look, with beautiful lighting from Sky Light, but also 13 more FPS (from 51 FPS with the default sky to 64 FPS with skybox).
How to replace the default sky with a skybox? Do this:
Find the right skybox texture for you
There are many places on the internet where you can find them.
You can get it from FAB
This is my favorite place to find textures like that. The prettiest ones are often paid, but for me, it is worth it. You can search "Skybox" in the search window and look around. You know best what will fit your game's art style and vibe. https://www.fab.com/search?q=skybox
Other places
If you strive for hyper realism, you can check websites like HDRI Skies, but I prefer FAB.
Remove Default Sky
This will include removing objects that create the default sky in Unreal. If you want, you can use Volumetric Cloud with the custom skybox, but Volumetric Cloud is one of the more expensive objects in the default sky.
Find Exponential Height Fog and delete it
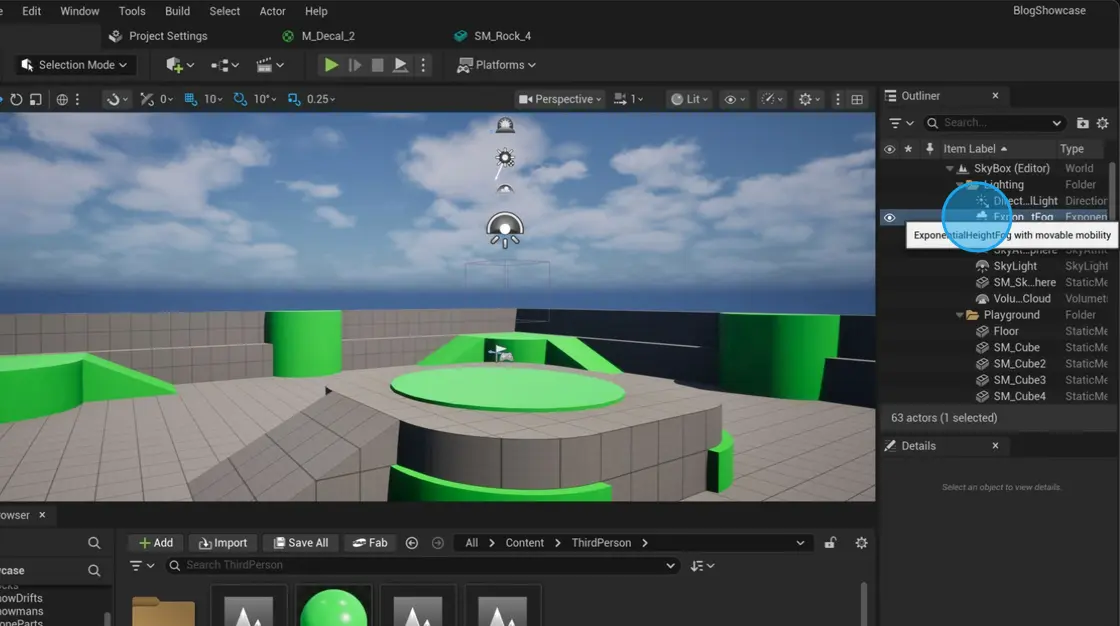
Find Volumetric Cloud and delete it

Find Skylight Atmosphere and delete it

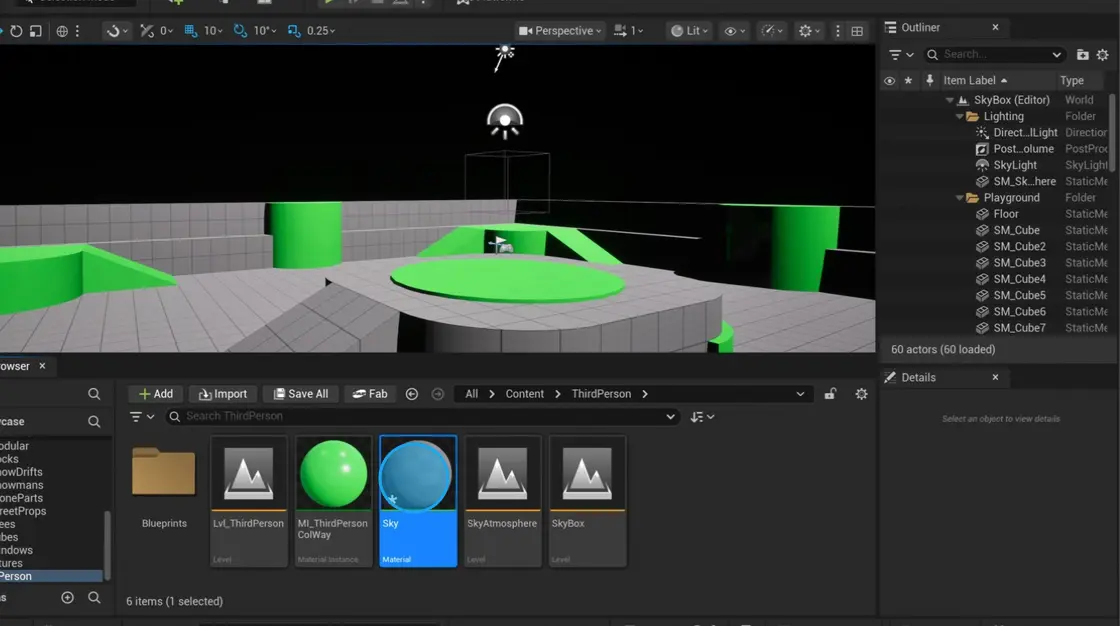
Create Sky material
This is a material that our skybox will use.
Right-click the space in the content browser

Select Material

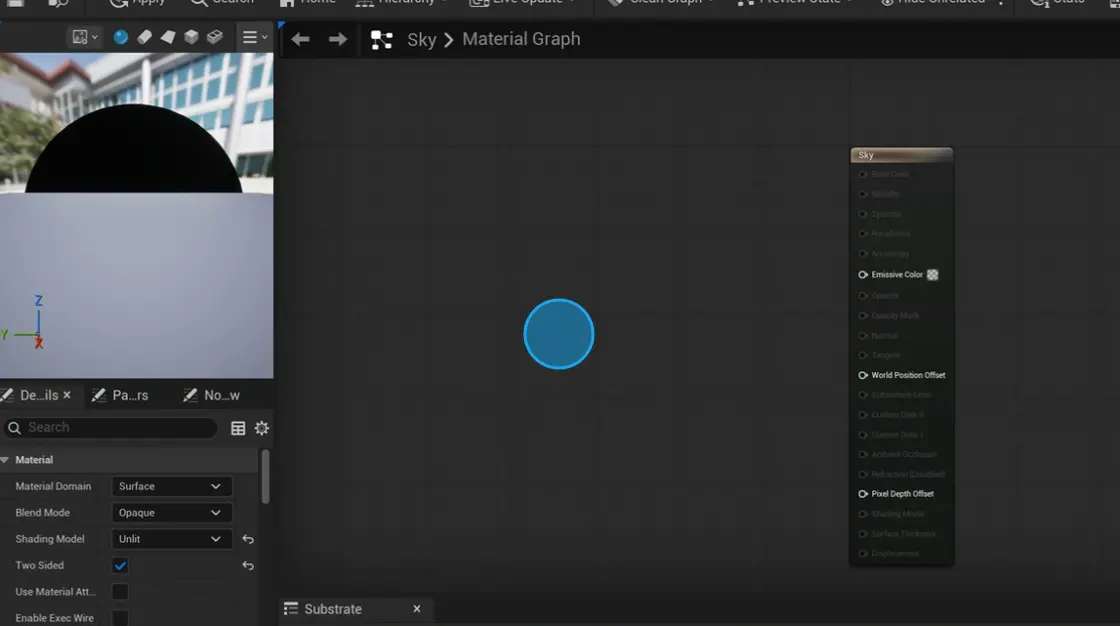
Open the new material
Change Shading Model to Unlit
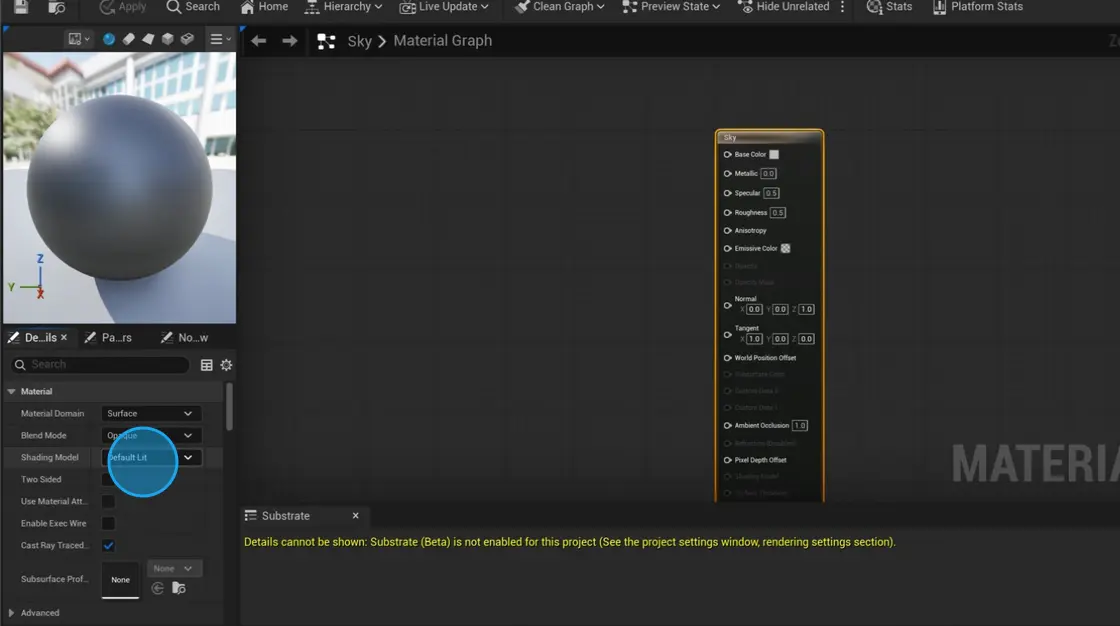
Enable Two Sided Checkbox
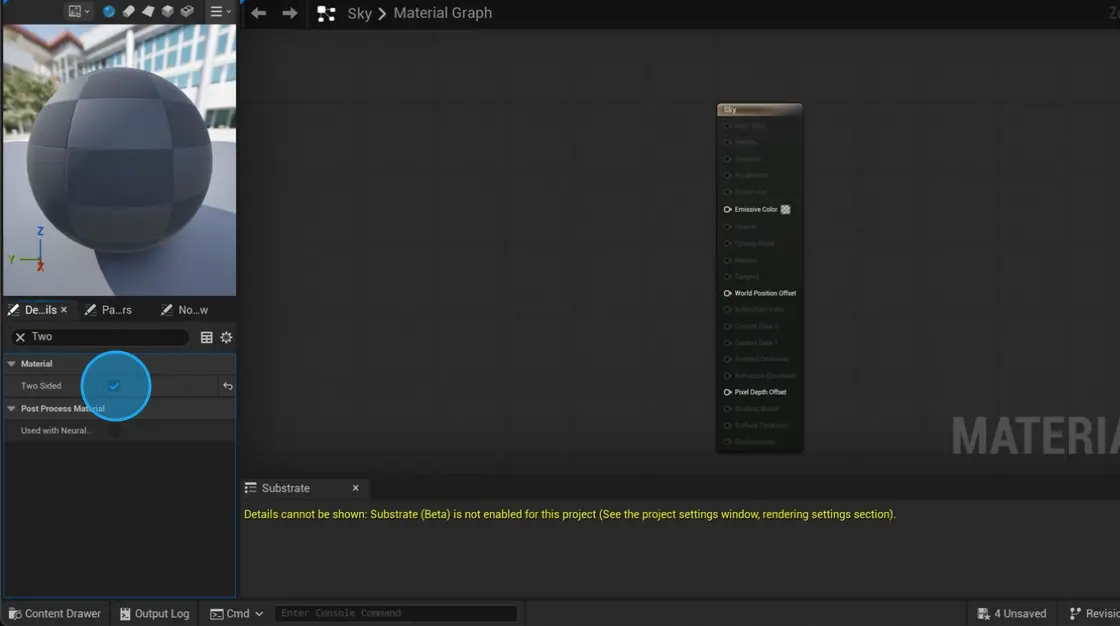
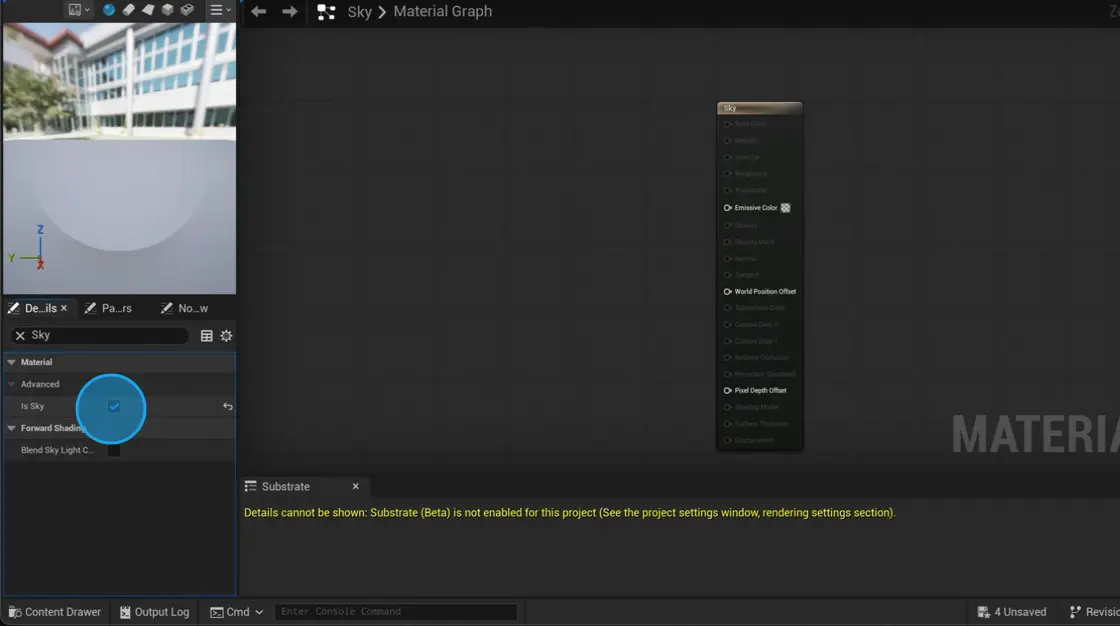
Enable Is Sky Checkbox
Right-click on the empty space in the node graph and search for Texture Sample to add the node
Click on the Texture Sample node
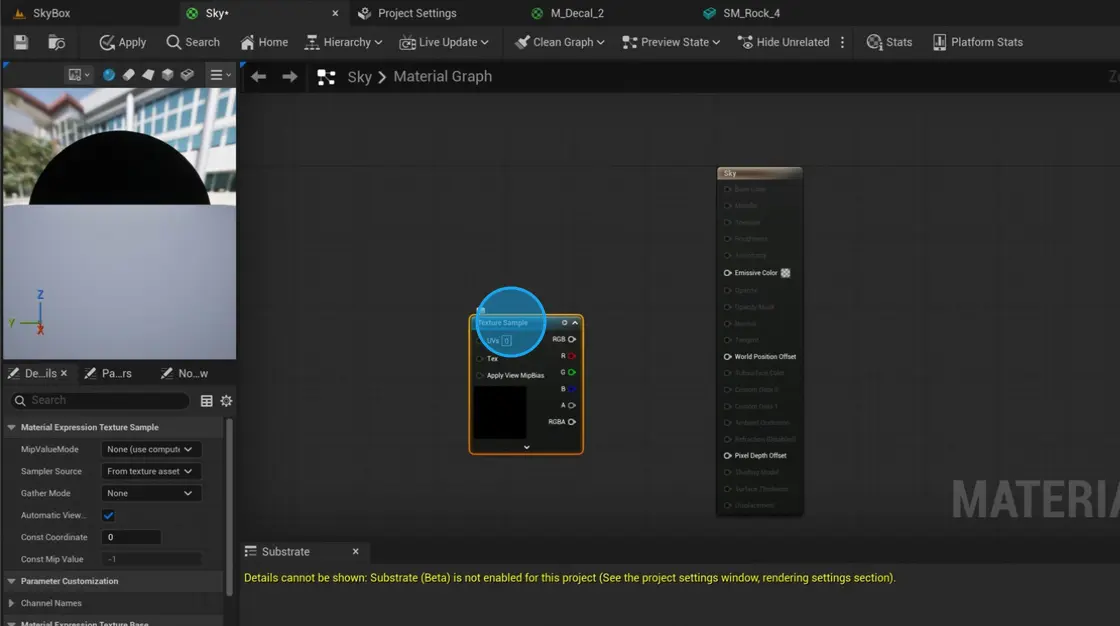
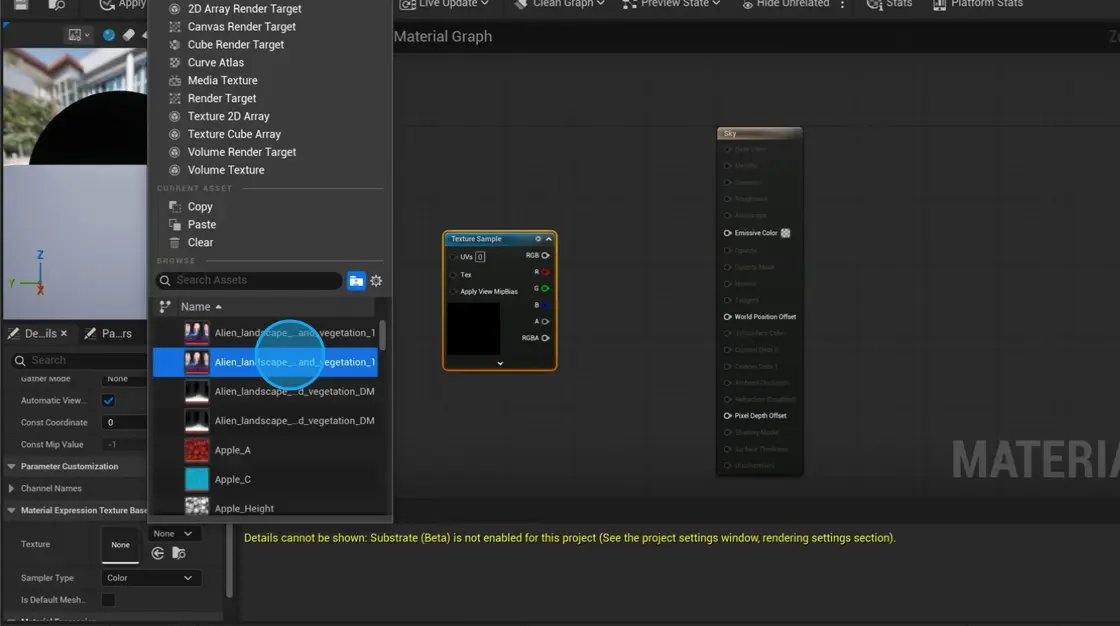
In the Details Panel, select Texture
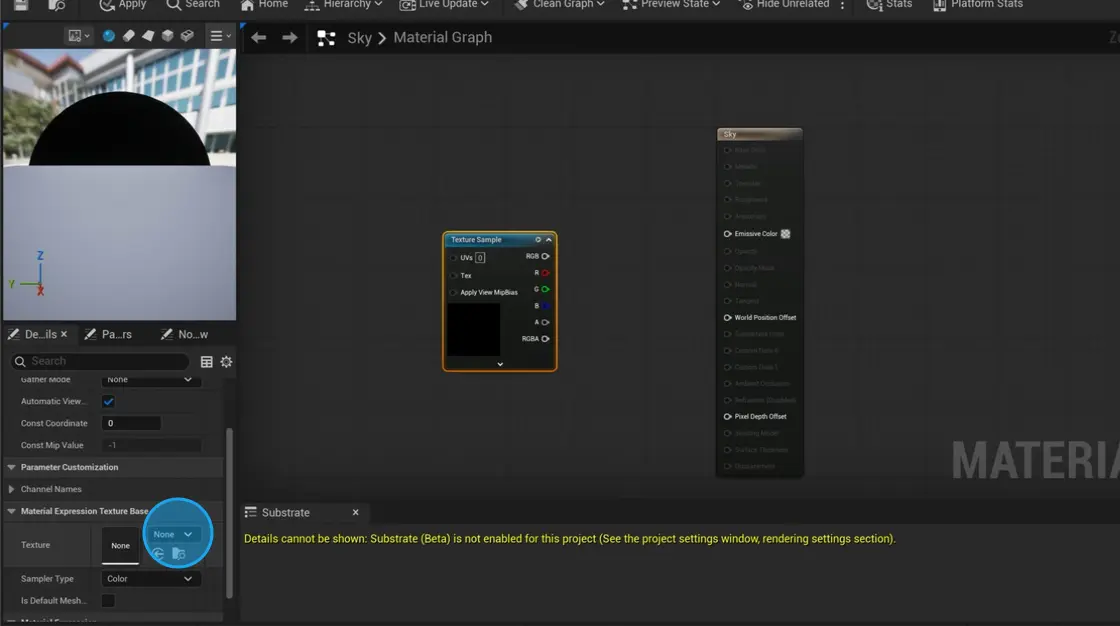
Set it to your imported Skybox
Click on the RGB pin and drag it to Emissive Color

Done! Our material is ready

Let's put the skybox on the scene
To do that, we will use a large default sphere, with our material applied to it
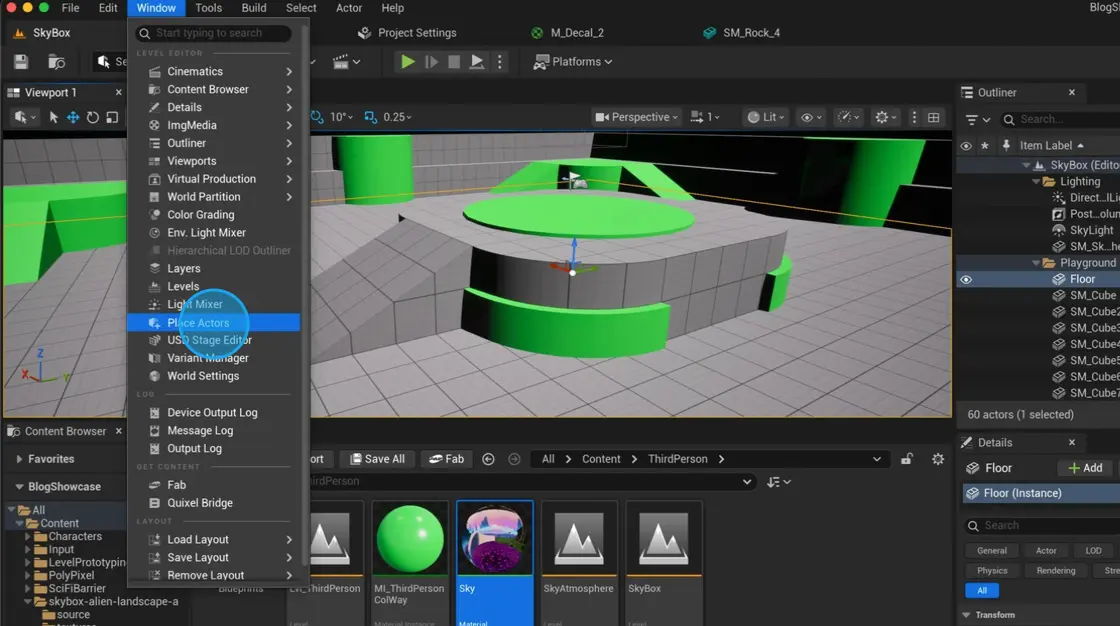
Click on Window tab
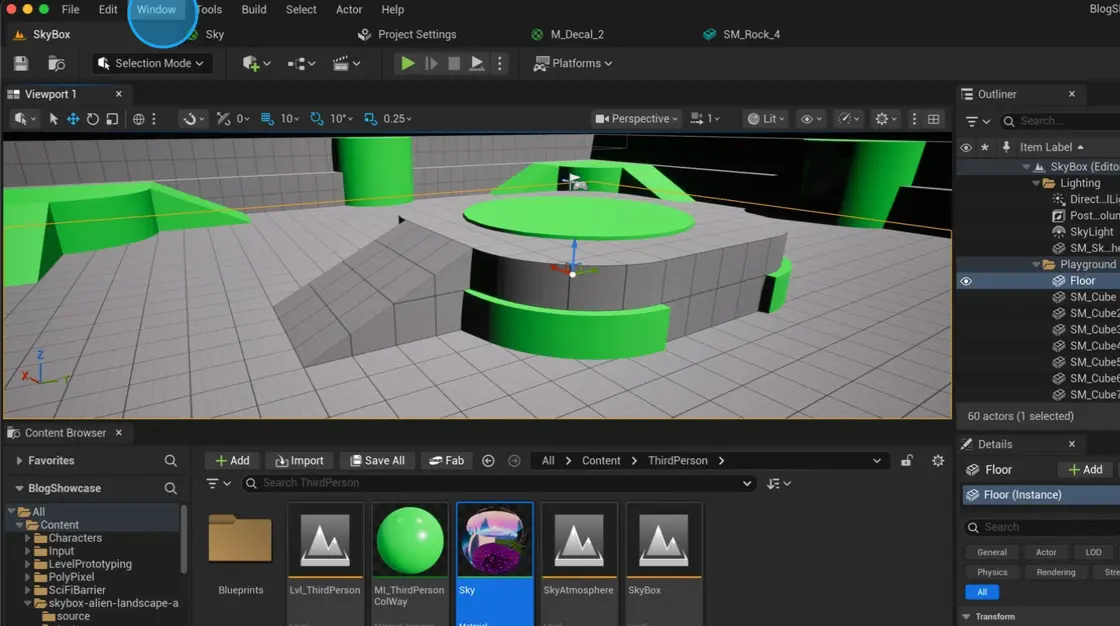
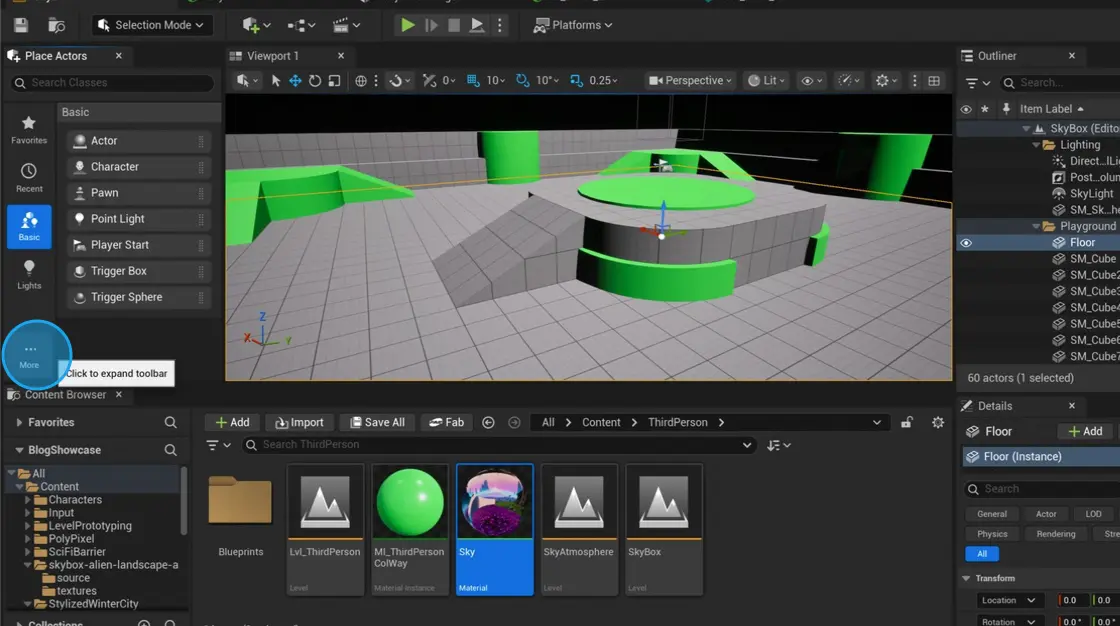
Select Place Actors from the menu
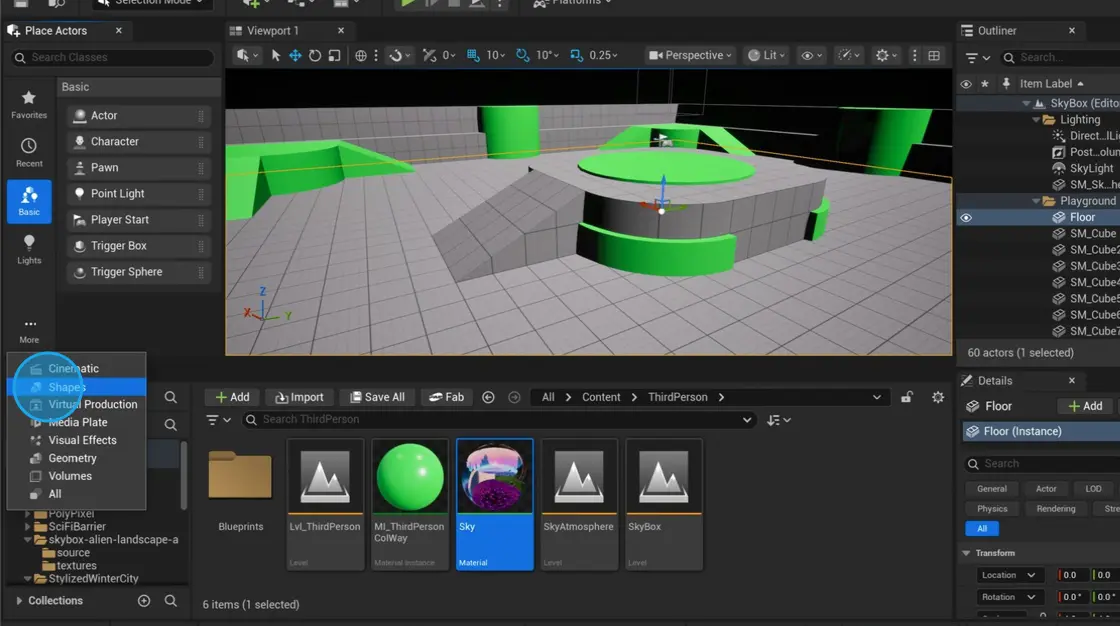
Click More
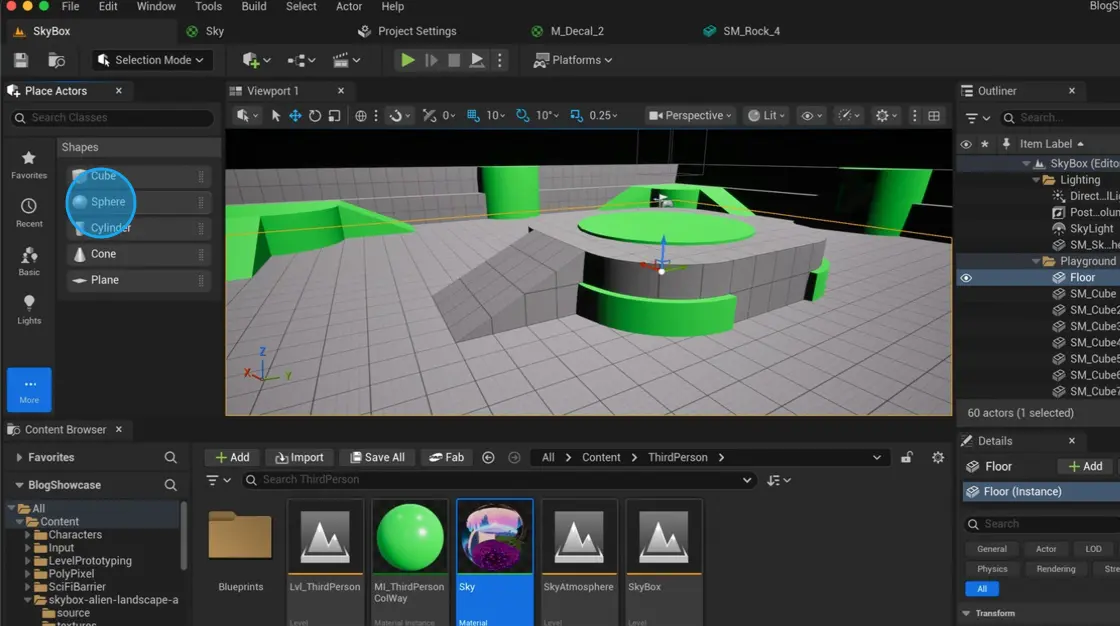
Select Shapes
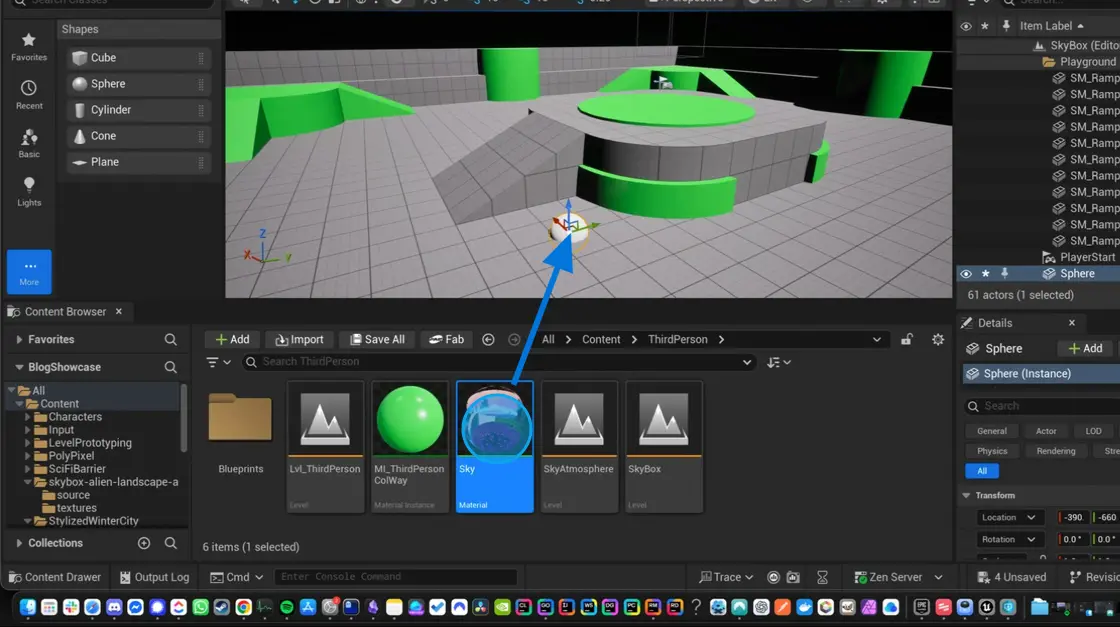
Select Sphere, drag and drop it into the editor
Drag and drop sky material onto a sphere
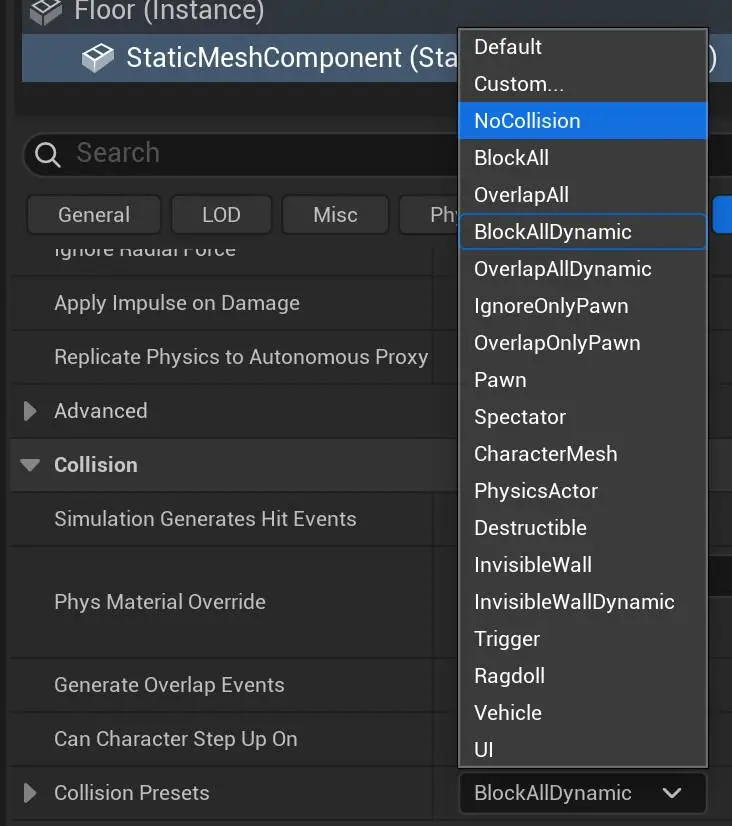
Set Collision Preset to NoCollision
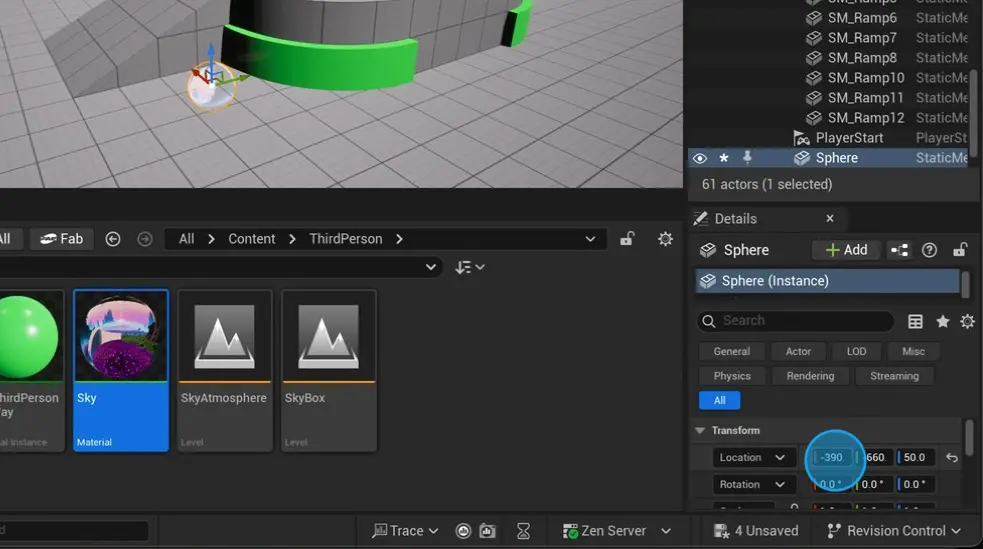
Set Sphere location to 0, 0, 0
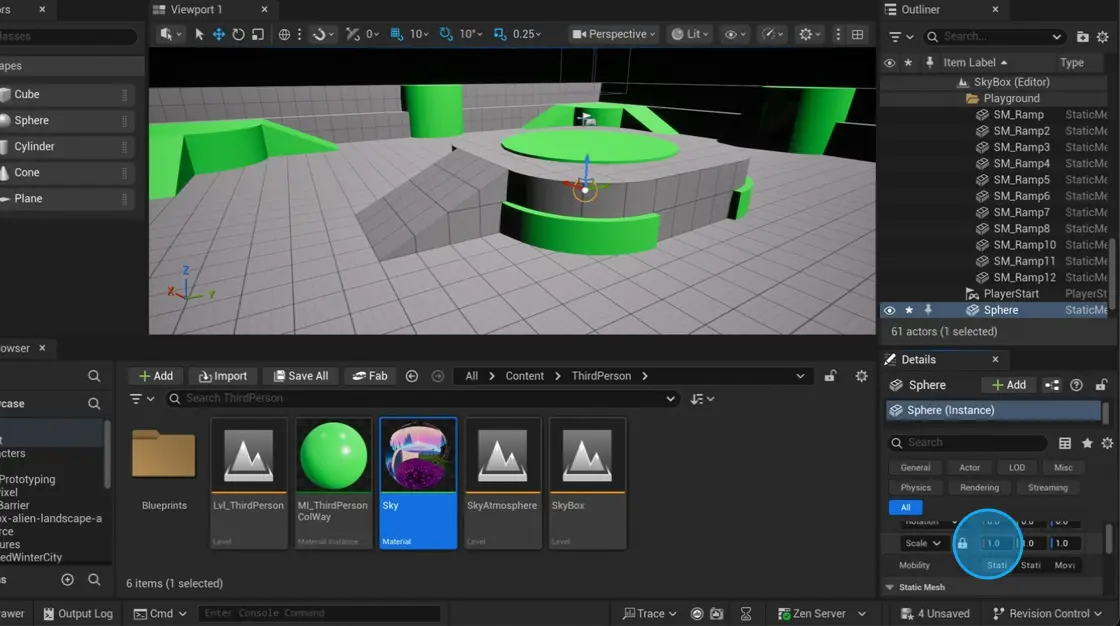
Click on the lock icon, to lock the scale on all axes

Increase scale to a large size, for example, 2000
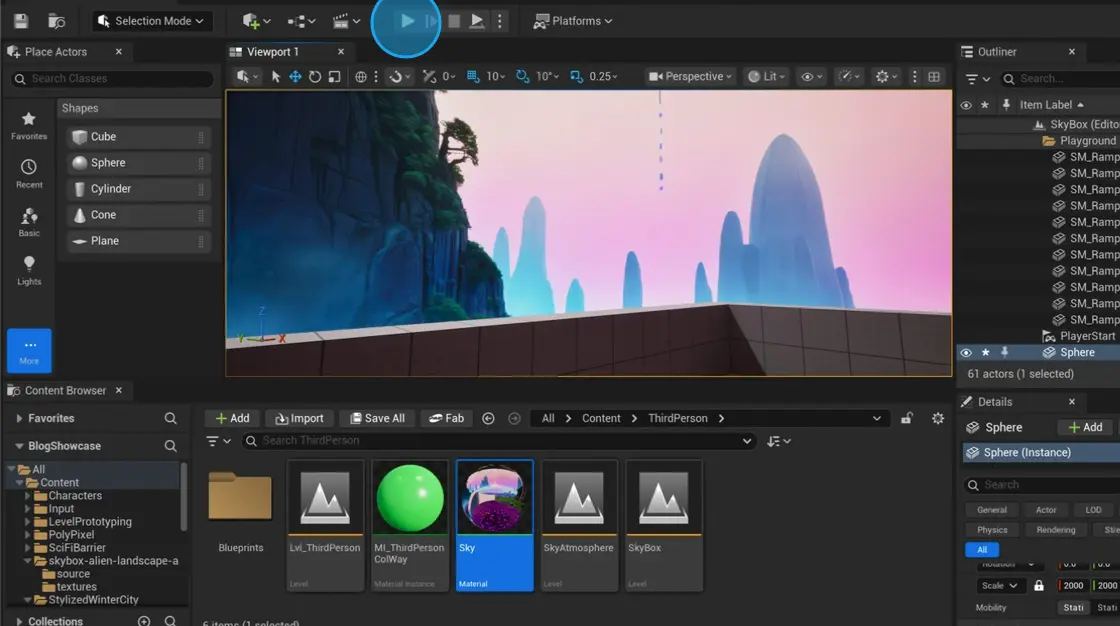
Done! You should see your skybox now
What now?
In my case, this change improved performance, and it does for many games. However, in some cases, this might not raise FPS at all. Most performance tips are contextual, and you need a Profiler to determine which specific changes to implement in your game. If you are looking for one that does not require extensive knowledge of graphics pipelines, Click here to try out FPS Fish. We give many solutions like this, tailored specifically for your game.